Table of Contents
Android Studio: Basics, XML Elements, and Code in Short List Format
1. Introduction to Android Studio
Android Studio is the official Integrated Development Environment (IDE) for Android app development. It provides a comprehensive set of tools and features to streamline the development process.
2. Getting Started with Android Studio
2.1. Installation
- Download Android Studio
- Follow the installation wizard
- Install necessary SDKs and emulators
2.2. Creating a New Project
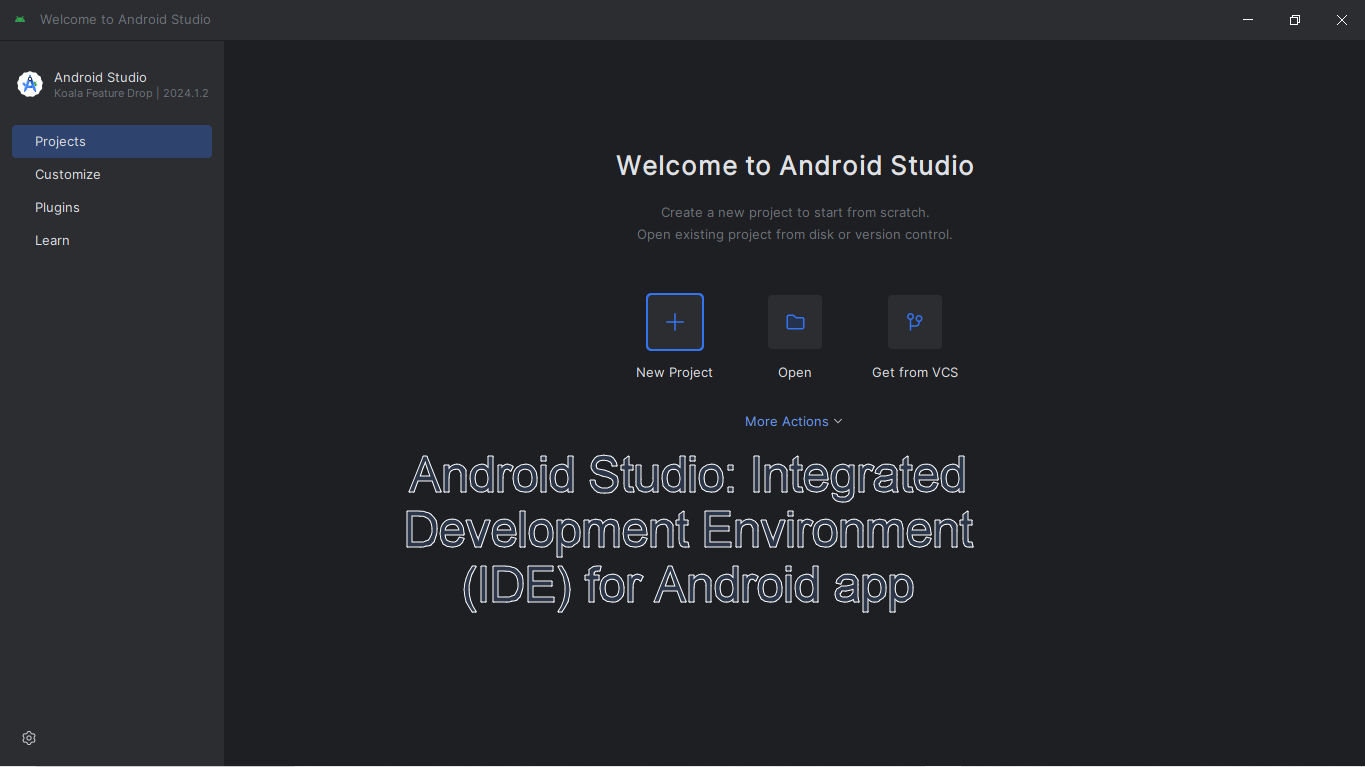
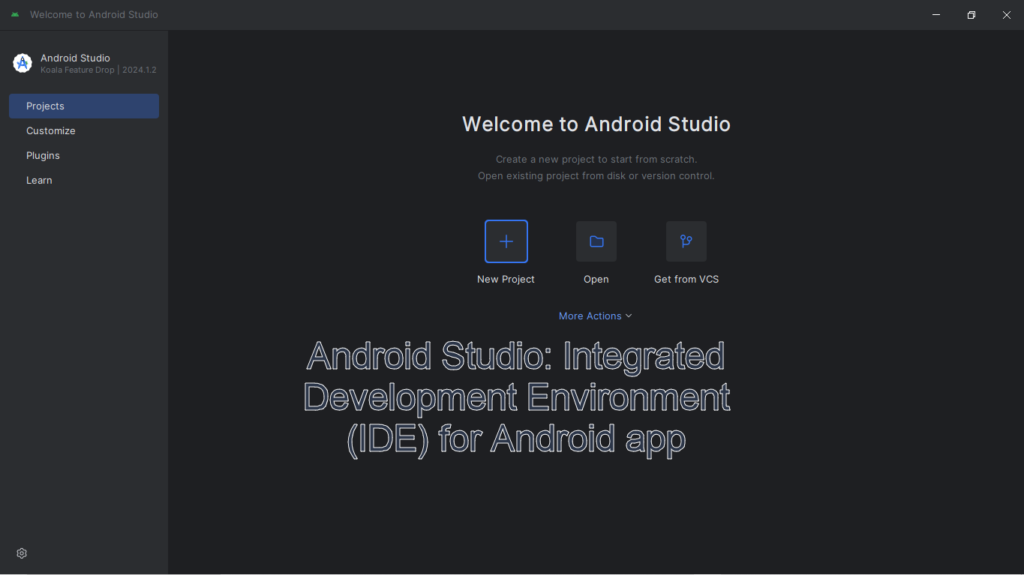
- Open Android Studio
- Click on “Start a new Android Studio project”
- Choose a project template
- Configure project settings
3. Understanding the Android Studio Interface
3.1. Project Structure
- app folder: contains all app-related files
- manifests folder: holds the AndroidManifest.xml file
- java folder: contains Java source code files
- res folder: houses resource files (layouts, images, strings)
3.2. Code Editor
- Syntax highlighting
- Code completion
- Real-time error detection
3.3. Emulator
- Virtual device for testing apps
- Various device configurations available
4. Basics of Android Development
4.1. Activities
- Core component of Android apps
- Represents a single screen with user interface
4.2. Layouts
- Define the structure for user interface
- Created using XML or Java code
4.3. Manifest File
- Contains essential information about the app
- Declares app components, permissions, and more
5. XML Elements in Android Studio
5.1. Views
- UI components like buttons, text fields, images
- Building blocks of user interface
5.2. Layouts
- Container for organizing views
- Different types: Linear, Relative, Constraint
5.3. Attributes
- Properties that define appearance and behavior of views
- Set in XML or programmatically
6. Common XML Elements
6.1. TextView
- Displays text to the user
- Example:
<TextView android:text="Hello World" />
6.2. Button
- Clickable element for user interaction
- Example:
<Button android:text="Click Me" />
6.3. EditText
- Allows user input
- Example:
<EditText android:hint="Enter text here" />
6.4. ImageView
- Displays images in the app
- Example:
<ImageView android:src="@drawable/my_image" />
7. Understanding XML Layout Files
7.1. Linear Layout
- Arranges views in a single row or column
- Example:
  <LinearLayout
      android:layout_width="match_parent"
      android:layout_height="wrap_content"
      android:orientation="vertical">
      <!-- Child views go here -->
  </LinearLayout>
7.2. Relative Layout
- Positions views relative to each other or parent
- Example:
  <RelativeLayout
      android:layout_width="match_parent"
      android:layout_height="match_parent">
      <!-- Child views go here -->
  </RelativeLayout>
7.3. Constraint Layout
- Flexible way to create responsive layouts
- Example:
  <androidx.constraintlayout.widget.ConstraintLayout
      android:layout_width="match_parent"
      android:layout_height="match_parent">
      <!-- Child views go here -->
  </androidx.constraintlayout.widget.ConstraintLayout>
8. Java Code in Android Studio
8.1. Activity Lifecycle
- onCreate(): called when activity is first created
- onStart(): called when activity becomes visible
- onResume(): called when activity starts interacting with user
- onPause(): called when activity is partially hidden
- onStop(): called when activity is no longer visible
- onDestroy(): called before activity is destroyed
8.2. Event Handling
- Responding to user interactions
- Example:
  button.setOnClickListener(new View.OnClickListener() {
      @Override
      public void onClick(View v) {
          // Handle button click
      }
  });
8.3. Intents
- Messaging objects for communication between components
- Example:
  Intent intent = new Intent(this, SecondActivity.class);
  startActivity(intent);
9. Debugging in Android Studio
- Set breakpoints in code
- Use logcat for viewing system logs
- Utilize the debugger to step through code
10. Building and Running Your App
- Click “Run” button or use Shift+F10
- Choose target device (emulator or physical device)
- Wait for app to build and install
11. Conclusion
Android Studio provides a powerful environment for developing Android apps. By mastering the basics, XML elements, and Java code, you can create robust and feature-rich applications. Remember to practice regularly and explore the vast resources available to enhance your Android development skills.
12. FAQs
- Q: What’s the minimum system requirement for Android Studio?
A: Android Studio requires at least 8GB of RAM, 2GB of available disk space, and a 64-bit operating system. - Q: Can I use Android Studio on Mac or Linux?
A: Yes, Android Studio is available for Windows, Mac, and Linux operating systems. - Q: Is Java the only programming language supported in Android Studio?
A: While Java is the primary language, Android Studio also supports Kotlin, which is becoming increasingly popular for Android development. - Q: How can I test my app on a real device?
A: Enable USB debugging on your Android device, connect it to your computer, and select it as the target device when running your app from Android Studio. - Q: Where can I find additional resources for learning Android development?
A: The official Android Developers website, Udacity courses, and various online platforms like Coursera and edX offer excellent resources for learning Android development.